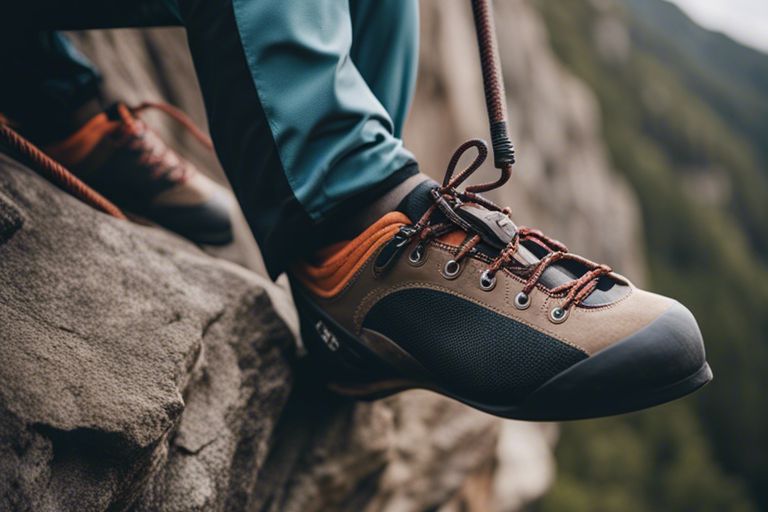
Most outdoor enthusiasts know the importance of having a reliable climbing rope. If you want to create your own knotted climbing rope, you’re in the right place. In this step-by-step guide, you will learn how to make a sturdy and safe knotted climbing rope that you can trust on your next adventure. Let’s get started on this fun and rewarding DIY project!
Key Takeaways:
- Choose the right rope: Use a strong and durable rope that is at least 30 feet long for making a knotted climbing rope.
- Learn basic knots: Practice tying imperative knots such as the figure-eight knot and double fisherman’s knot to create a secure climbing rope.
- Take safety precautions: Always inspect the rope for any damage before use, and ensure it is properly anchored and secured when climbing.

Understanding Climbing Ropes
Before delving into how to make a knotted climbing rope, it’s imperative to understand the different types of climbing ropes available. In the context of climbing ropes, there are two primary categories: dynamic ropes and static ropes. Dynamic ropes are designed to stretch and absorb the energy of a falling climber, making them ideal for lead climbing and top-roping. On the other hand, static ropes do not stretch, making them suitable for rappelling, hauling gear, and ascending ropes.
Types of Climbing Ropes
- Dynamic Ropes
- Static Ropes
| Dynamic Ropes | Stretch when weighted, ideal for lead climbing and top-roping |
| Static Ropes | Do not stretch, suitable for rappelling and ascending ropes |
The type of climbing you plan to do will dictate the kind of rope that is most suitable for you. The diameter, length, and treatment of the rope are also imperative factors to consider. The choice between a dynamic or static rope will depend on your specific climbing needs. The information in the table above summarizes the key differences between dynamic and static ropes.
Factors to Consider When Choosing a Rope
- Climbing Style
- Rope Diameter
- Rope Length
- Rope Treatment
Little details like the weight of the rope and its impact force can also influence your decision. This is why it’s crucial to assess your climbing style and requirements before investing in a climbing rope. Recall, the right rope can make a significant difference in your climbing experience.
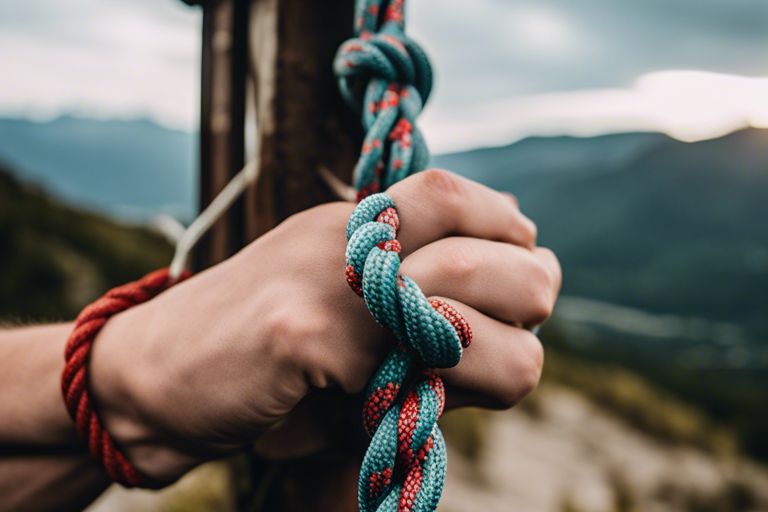
Importance of Knots in Climbing Ropes
Even though knots may seem like a basic aspect of climbing, they play a crucial role in ensuring your safety on the rock. The type of knot you use and how well you tie it can determine the success of your climb. Correctly tied knots provide security and reliability when you’re hanging off the side of a cliff, making them an imperative skill for any climber.
Climbing ropes are your lifeline on the rock, so understanding the nuances of different ropes and knots is vital to your safety and success as a climber. Make sure you take the time to learn about the ropes and knots that best suit your climbing style and practice tying them correctly before heading out on your next adventure.
Gathering Materials and Tools
Essential Materials for Making a Knotted Climbing Rope
Even before you start making your knotted climbing rope, you need to gather the important materials. The most important material is the rope itself. Look for a strong and durable material like nylon or polyester, which will provide the necessary strength and flexibility for climbing.
Specialized Tools Required for Rope Making
Even though making a knotted climbing rope can be done with basic tools, having specialized equipment will make the process much easier. Tools like a fid (a tool to help manipulate the rope) and a marlinspike (a pointed tool for loosening strands) are important for creating intricate knots and weaves in the rope.
Little details like these specialized tools can make a big difference in the quality and durability of your knotted climbing rope. While you can attempt to make a climbing rope with improvised tools, having the right equipment will make the process smoother and the end product more reliable.
Tips for Selecting the Right Materials and Tools
Rope making is a craft that requires attention to detail and quality materials and tools. When selecting the materials, make sure to choose a rope that is specifically designed for climbing to ensure its strength and durability. Additionally, invest in high-quality tools that are designed for rope making to make the process easier and more efficient.
- Assume that using lower quality materials or tools may result in a rope that is not safe for climbing.
An important aspect of selecting the right materials and tools for making a knotted climbing rope is to prioritize safety and durability. Climbing ropes are important equipment for your safety while ascending or descending, so it’s crucial to use the best materials and tools available to create a reliable and strong rope.
Measuring and Cutting the Rope
How to Measure the Correct Length for Your Rope
Many factors come into play when measuring the correct length for your climbing rope. One important consideration is the type of climbing you will be doing – whether it’s indoor climbing, sport climbing, or traditional climbing. The length of your rope will vary based on the specific requirements of the climbing route or location.
Techniques for Cutting the Rope to the Desired Length
One crucial technique for cutting your climbing rope to the desired length is using a sharp knife or a hot knife cutter. An accurate measurement will ensure that your rope is cut to the perfect length for your climbing needs. Make sure to secure the ends of the rope with tape before cutting to prevent fraying.
An additional technique you can use is marking the rope with a permanent marker at the desired length and wrapping a piece of tape tightly around the rope at the marked point. This will create a guide for cutting and ensure a clean and precise cut.
Factors to Consider When Cutting the Rope
When cutting your climbing rope, there are several factors you need to consider to make the right decision. Length is obviously a crucial factor, but so is the diameter of the rope. Thinner ropes are typically lighter and more suitable for sport climbing, while thicker ropes offer more durability and safety for traditional climbing.
- The type of climbing you will be doing
- The specific requirements of the climbing route or location
Cutting a climbing rope is a precise task, and any mistakes can compromise its safety and usability. Always double-check your measurements and take your time when cutting the rope to ensure that it is the perfect length for your climbing adventures.
Creating the Knots
Once again, one of the most crucial steps in making a knotted climbing rope is creating the knots. The knots in a climbing rope are what secure you to the rope and keep you safe during your ascent. There are different types of knots used in climbing ropes, each serving a specific purpose.
Types of Knots Used in Climbing Ropes
- Figure Eight Knot
- Clove Hitch
- Double Fisherman’s Knot
- Prusik Knot
- Grapevine Knot
This table breaks down the types of knots used in climbing ropes:
| Figure Eight Knot | Secures the climber’s harness to the rope. |
| Clove Hitch | Used for anchoring the rope to a carabiner or other anchor point. |
| Double Fisherman’s Knot | Joins two ends of the rope together to create a continuous loop. |
| Prusik Knot | Allows the climber to ascend or descend a rope using a separate safety line. |
| Grapevine Knot | Connects two ropes of different diameters securely. |
Step-by-Step Guide to Tying a Figure Eight Knot
With this step-by-step guide, you can easily learn how to tie a figure eight knot, a fundamental knot in climbing:
| Step | Instructions |
|---|---|
| 1 | Form a loop with the rope. |
| 2 | Pass the end of the rope through the loop from the underside. |
| 3 | Wrap the end of the rope around the standing part. |
| 4 | Pass the end of the rope back down through the loop. |
| 5 | Tighten the knot and ensure it forms a figure eight shape. |
Used correctly, the figure eight knot is reliable and secure, making it crucial for all climbers to master.
Tips for Securing the Knots and Avoiding Common Mistakes
- Always double-check your knots before climbing.
- Practice tying knots regularly to ensure you are proficient.
Common mistakes when knot tying can lead to accidents while climbing, so recognizing and avoiding these errors is crucial for your safety.
Understanding the different types of knots used in climbing ropes, how to tie them correctly, and common mistakes to avoid will help you stay safe and secure during your climbing adventures. Be mindful of, your life depends on the knots you tie, so always take the time to double-check your work before starting your ascent.
Assembling the Rope
How to Attach the Knots to the Rope
For a knotted climbing rope, you’ll need to attach various knots along the length of the rope to provide grip and stability while climbing. Any type of climbing knot can be used, such as figure-eight knots, double fisherman’s knots, or bowline knots. It’s important to ensure that each knot is securely tied and positioned at regular intervals to support your weight as you climb.
Techniques for Securing the Ends of the Rope
For your safety, always secure the ends of the rope to prevent unraveling or fraying. The best way to secure the ends of a knotted climbing rope is by using heat shrink tubing or overhand knots. The overhand knots can be tightened near the end of the rope to create a secure stopper. The heat shrink tubing can then be added over the ends and heated to shrink and seal the rope, providing a durable finish.
The techniques for securing the ends of the rope are crucial to maintaining the integrity and safety of your knotted climbing rope. Attachments such as heat shrink tubing not only prevent fraying but also add a professional touch to the finished product.
Factors to Consider When Assembling the Rope
When assembling a knotted climbing rope, it’s important to consider the length, thickness, and material of the rope. The length of the rope should be adequate for the climbing height, with additional length for knots and securing the ends. The thickness of the rope should provide a comfortable grip for your hands while climbing. The material of the rope should be durable and able to withstand the wear and tear of the climbing activity.
- Choose a rope length suitable for the climbing height
- Consider the thickness of the rope for a comfortable grip
- Select a durable material that can withstand climbing activity
Clearly understanding these factors will help you create a safe and reliable knotted climbing rope. Recognizing the importance of these considerations will ensure that your rope is well-suited for your climbing adventures.
Assembling the Rope
Assembling a knotted climbing rope is a rewarding process that requires attention to detail and precision. When creating your rope, ensure that each knot is tied securely and positioned correctly along the length of the rope. Regularly inspect the rope for any signs of wear and tear, and make necessary adjustments to maintain its safety and reliability.
Testing and Inspecting the Rope
How to Test the Strength and Durability of the Rope
Not all knots are created equal, and the strength of your rope can vary depending on the type of knot you use and how well it’s tied. Assuming you followed proper knot-tying techniques, the next step is to test the strength and durability of the rope. One common method is to perform a static pull test, gradually increasing the weight or force applied to the rope to see how much it can withstand before breaking.
Tips for Inspecting the Rope for Damage or Wear
On a regular basis, you should inspect your climbing rope for any signs of damage or wear. Look for frayed areas, cuts, abrasions, or other imperfections that could compromise the integrity of the rope. Knowing how to spot these issues early on can prevent accidents and ensure your safety while climbing.
- Inspect the entire length of the rope, paying close attention to areas that come in contact with rough surfaces or sharp edges.
- Knowing what to look for can help you identify potential weak points and address them before they become a serious problem.
Factors to Consider When Testing and Inspecting the Rope
Testing the strength and inspecting the condition of your climbing rope is crucial for your safety. The quality of your rope and the conditions in which you use it can impact its durability over time. Assume that not all ropes are suitable for every type of climbing activity, so make sure to choose one that meets the specific requirements of your sport.
- The age of the rope, the number of falls it has taken, and the environmental conditions in which it’s been used can all affect its strength and integrity.
- Assume that regular testing and inspection are crucial for identifying any potential weaknesses in the rope and ensuring your safety while climbing.
Wear and tear are inevitable when it comes to climbing ropes, but by following proper testing and inspection procedures, you can prolong the life of your rope and minimize the risks associated with using a damaged or weakened one.
Conclusion
Conclusively, making a knotted climbing rope can be a fun and rewarding DIY project. By following the steps outlined in this guide, you can create a durable and secure climbing rope that meets your specific needs and preferences. Whether you are an experienced climber looking to customize your gear or a beginner wanting to learn a new skill, making your own knotted climbing rope can be a satisfying and engaging process.
Remember to choose a high-quality rope and practice tying the knots accurately to ensure your safety while climbing. With some patience and attention to detail, you can enjoy the satisfaction of using a climbing rope that you made yourself. So go ahead and begin on this creative adventure to craft your very own knotted climbing rope!
FAQ
Q: What materials do I need to make a knotted climbing rope?
A: To make a knotted climbing rope, you will need a long rope (about 50-60 feet), scissors, and a lighter to melt the ends of the rope to prevent fraying.
Q: How do I make a knotted climbing rope?
A: Start by finding the middle of the rope and creating a loop. Then, tie a figure-eight knot at the loop to create a secure anchor point. Next, continue making figure-eight knots along the length of the rope, spacing them evenly apart to create handholds for climbing.
Q: How do I ensure the knots are secure in the climbing rope?
A: To ensure the knots are secure in the climbing rope, make sure to tighten each knot thoroughly after tying it. You can also add an additional layer of security by applying a small amount of super glue to the knots once they are tightened.