Cycling enthusiasts know the importance of properly installing cleats on their cycling shoes to optimize performance and comfort during rides. Whether you are a seasoned cyclist or just starting out, learning the correct way to put cleats on your cycling shoes is imperative. In this step-by-step guide, we will walk you through the process of mounting cleats on your cycling shoes with expert precision.

Key Takeaways:
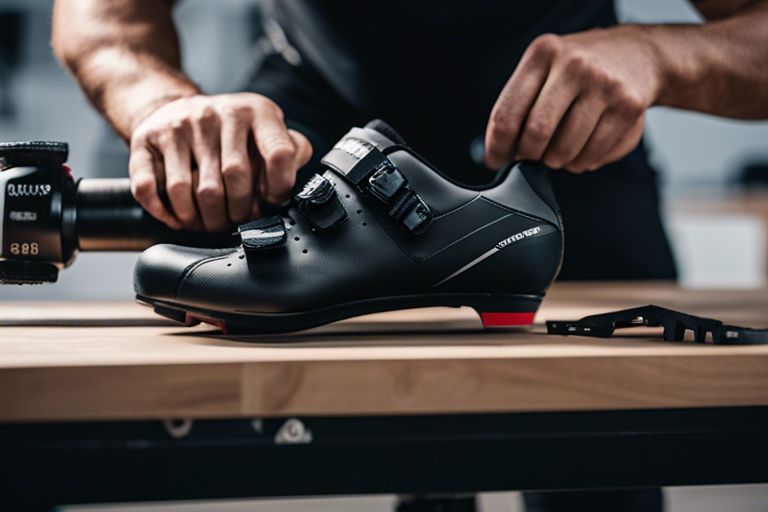
- Use the correct tools: It’s crucial to have the right tools when putting cleats on cycling shoes. This includes an Allen key or specific cleat installation tool for precise and secure attachment.
- Position the cleats correctly: Proper cleat positioning is imperative for optimal performance and comfort. Ensure the cleats are aligned with the ball of your foot and adjusted to your desired angle for efficient pedaling.
- Secure the cleats properly: After positioning the cleats, make sure they are securely fastened to the cycling shoes. Check for any loose screws and tighten them to prevent any unexpected cleat movement during rides.
Preparing to Install Your Cleats
While getting ready to put cleats on your cycling shoes, there are a few necessary steps you need to take. Proper preparation ensures that the installation process goes smoothly and that your cleats are positioned correctly for optimal performance.
Gathering Necessary Tools
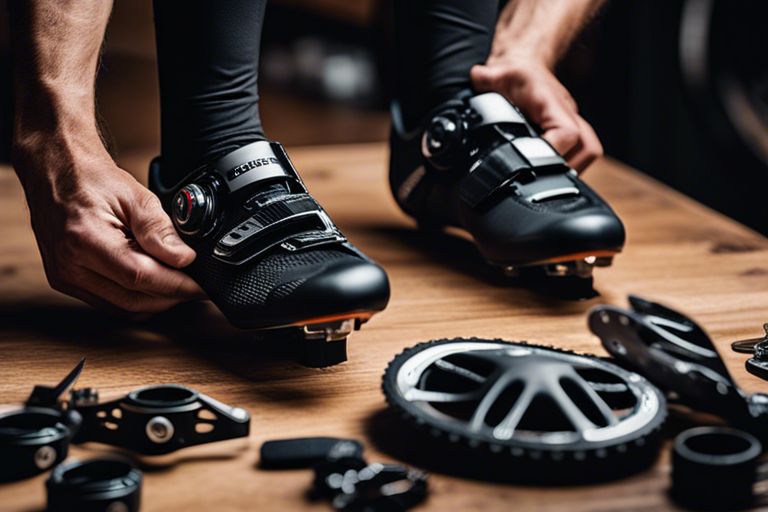
On your journey to installing cleats on your cycling shoes, the first step is to gather all the necessary tools. You will need an Allen key or screwdriver (depending on the type of bolts your cleats use), the cleats themselves, and the shoes you will be attaching them to.
Understanding Cleat Types and Compatibility
You need to have a clear understanding of the different types of cleats available and which ones are compatible with your cycling shoes. There are various cleat systems such as SPD, Look Keo, and Speedplay, each with its own set of specifications and requirements for installation. It is crucial to match the cleats with the pedals you will be using to ensure a secure fit and proper functionality.
- SPD cleats are commonly used for mountain biking and are compatible with recessed cleat systems.
- Look Keo cleats are popular for road cycling and provide a wide platform for efficient power transfer.
- Speedplay cleats offer dual-sided entry and are favored for their adjustability.
This knowledge will help you choose the right cleats for your specific cycling needs and ensure that they are installed correctly for optimal performance.
| Cleat Type | Compatible Pedal Systems |
| SPD | Shimano SPD pedals |
| Look Keo | Look Keo pedals |
| Speedplay | Speedplay pedals |
Positioning Your Cleats
Factors Affecting Cleat Placement
It is crucial to position your cleats correctly on your cycling shoes to ensure comfort, efficiency, and injury prevention while riding. Several factors can affect where your cleats should be placed:
- Foot anatomy
- Riding style
- Personal preference
Perceiving these factors will help you determine the optimal position for your cleats.
Tips for Achieving the Correct Alignment
Now, let’s discuss some tips to help you achieve the correct alignment of your cleats:
- Start by setting your cleats in the neutral position
- Adjust the cleat position based on your comfort and riding style
Recognizing the importance of proper cleat alignment can enhance your cycling experience and performance.
Attaching the Cleats
Unlike regular shoes, cycling shoes require cleats to be attached to the soles in order to clip into the pedals. Attaching cleats properly is crucial for optimal performance and safety on the bike.
Step-by-Step Installation Guide
Now, let’s walk through the step-by-step process of attaching cleats to your cycling shoes:
| Step 1 | Position the cleat on the sole of the shoe according to your natural foot alignment when pedaling. |
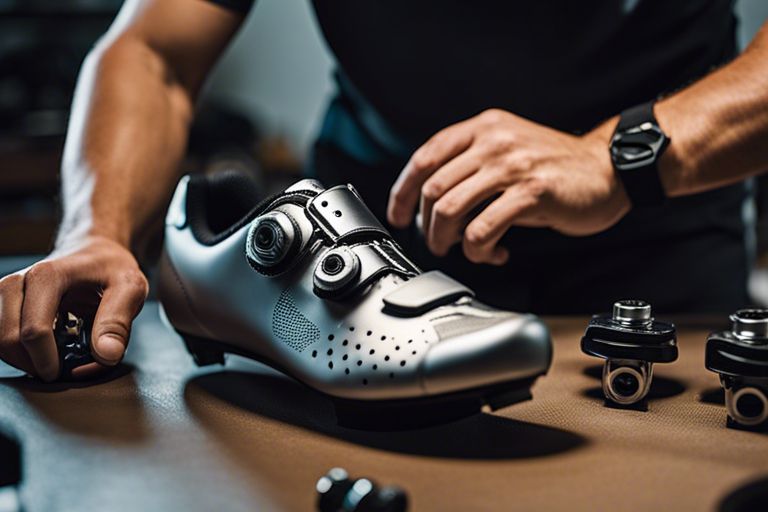
| Step 2 | Use the provided screws and a compatible screwdriver to securely fasten the cleat onto the shoe. |
| Step 3 | Adjust the position of the cleat to achieve the desired angle for efficient pedaling. |
Ensuring Proper Tightness and Security
Security is paramount when it comes to cleat attachment on cycling shoes. Improperly installed or loose cleats can lead to accidents and hamper your cycling performance. Proper tightening and securing of cleats ensure a safe and efficient ride.
Properly tighten the cleat screws using the recommended torque specifications provided by the manufacturer. Use a torque wrench if necessary to achieve the correct tightness. After installation, double-check the cleats periodically to ensure they remain secure and tight during your rides.
Fine-Tuning and Adjustments
How to Test and Refine Cleat Position
Cleat positioning is crucial for achieving optimal power transfer and comfort while cycling. Once again, it is recommended to start with a basic position based on guidelines provided by the shoe and cleat manufacturer. However, every rider is unique, and small adjustments may be necessary to fine-tune the cleat position to suit individual biomechanics.
Troubleshooting Common Issues
On occasion, cyclists may encounter issues with cleat positioning that can lead to discomfort or inefficient pedaling. To address these concerns, it is important to first identify the source of the problem before making any adjustments. Common issues include knee pain, hot spots on the feet, or numbness while riding.
To troubleshoot and address these common issues, carefully reassess the cleat position in relation to the ball of the foot and the natural angle of the rider’s legs. If knee pain is present, it may be necessary to adjust the lateral or medial position of the cleat to alleviate stress on the knees. Hot spots or numbness can often be resolved by tweaking the fore-aft position of the cleat to ensure even pressure distribution across the foot.
Maintenance and Care for Your Cleats
Routine Checks and Replacement Tips
To ensure optimal performance and safety while cycling, it is crucial to regularly inspect your cleats for any signs of wear and tear. Check for any loose screws, cracks, or worn-out rubber pads. If you notice any damage, it is recommended to replace the cleats immediately to prevent any accidents or discomfort during your rides. It is advisable to carry out this check every few weeks or after every significant ride.
- Inspect cleats for wear and tear regularly.
- Check for loose screws or damaged rubber pads.
- Replace cleats if any damage is detected.
The longevity of cleats varies depending on the frequency and intensity of use. The general recommendation is to replace them every 1000-2000 miles or at least once a year, even if they appear to be in good condition. The small investment in new cleats can save you from potential discomfort and injuries in the long run.
While routine checks are necessary for cleat maintenance, also consider checking and adjusting the alignment of your cleats periodically to ensure optimal power transfer and comfort during cycling. The correct positioning can prevent muscle fatigue and improve your overall cycling efficiency.
Cleaning and Storage Best Practices
Replacement of cleats is vital, but so is maintaining them in proper condition for longer life and better performance. To keep your cleats in top shape, cleaning and proper storage are key. Dirt, mud, or sand can affect the functionality of your cleats and pedal engagement. Regularly wipe them clean using a damp cloth and dry them thoroughly before storage.
To prevent any damage or rusting of the screws, use a small brush to get rid of any accumulated dirt in the screw holes. Once cleaned, store your cycling shoes with the cleats installed in a cool, dry place away from direct sunlight and moisture. This will help maintain the integrity of the cleats and ensure they are ready for your next ride.
Summing up
With these considerations in mind, putting cleats on cycling shoes is a simple yet crucial process that directly affects your performance and comfort while riding. By following the manufacturer’s guidelines, paying attention to cleat alignment, and properly tightening the screws, you can ensure that your cleats are securely and correctly attached. Remember to regularly check and adjust your cleats to maintain an optimal riding experience. By mastering this important skill, you can enjoy a smoother and more efficient cycling ride.
FAQ
Q: What tools do I need to put cleats on cycling shoes?
A: To put cleats on cycling shoes, you will need a 4mm or 5mm hex key, the appropriate cleats for your pedals, and a marker to make precise markings on the shoes before attaching the cleats.
Q: How do I position the cleats on my cycling shoes?
A: It is crucial to position the cleats correctly on your cycling shoes to ensure optimal performance and comfort. Start by locating the ball of your foot and aligning it with the center of the pedal axle. Make sure the cleat is straight and parallel to the shoe before tightening it securely.
Q: How tight should I make the screws when attaching the cleats?
A: When attaching cleats to your cycling shoes, it is important to tighten the screws securely to prevent the cleats from coming loose while riding. Use the appropriate torque recommended by the cleat manufacturer to ensure a secure fit without damaging the shoe. Check the screws periodically to make sure they are still tight.