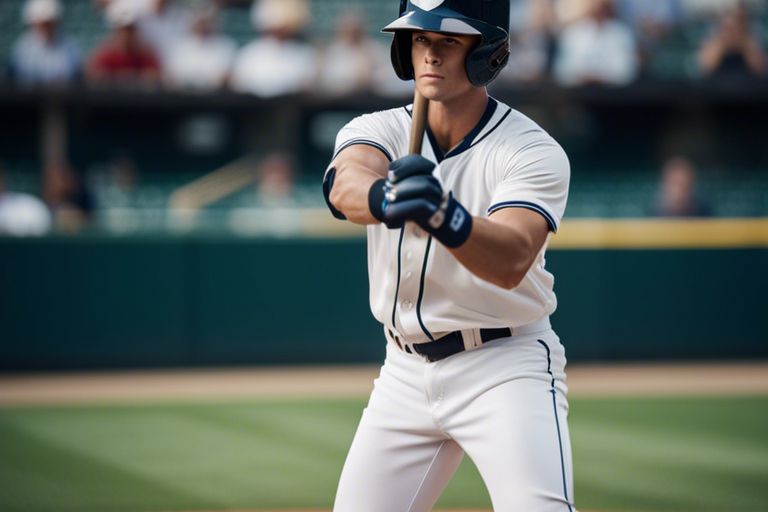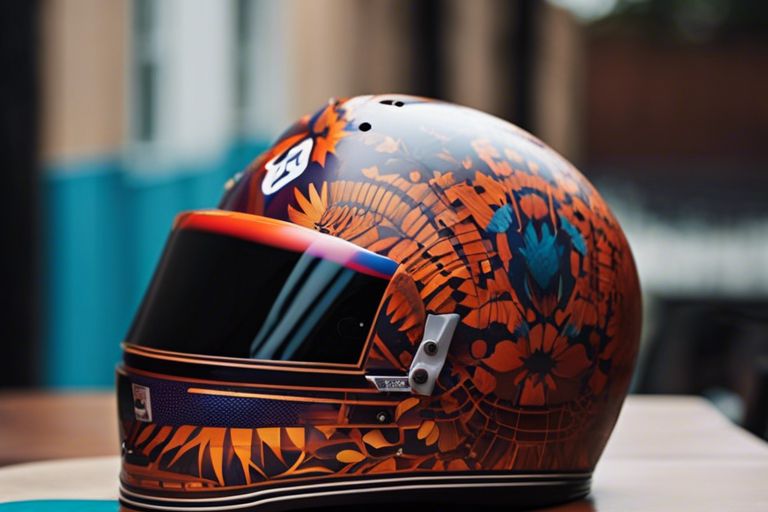
#Tutorial Looking to give your batting helmet a fresh and personalized look? Painting your batting helmet is a great way to stand out on the field and showcase your unique style. Follow these simple steps to learn how to paint your batting helmet like a pro.
Key Takeaways:
- Preparation is key: Before painting a batting helmet, make sure to thoroughly clean and sand the surface to remove any dirt or old paint. This will ensure better adhesion and a smoother finish.
- Use the right paint: It is important to use paint specifically designed for use on helmets, such as acrylic enamel or spray paint made for plastics. This will ensure a durable and long-lasting finish.
- Apply multiple thin coats: Instead of applying one thick coat of paint, it is recommended to apply multiple thin coats to achieve a smooth and even finish. Allow each coat to dry completely before applying the next one.
Preparing the Batting Helmet for Painting
Cleaning and Sanding
Now, before you start painting your batting helmet, it is crucial to ensure that the surface is clean and free of any debris or oils. Use a mild detergent and water to clean the helmet thoroughly. Once cleaned, allow it to dry completely. Next, gently sand the helmet using fine-grit sandpaper to create a smooth surface for the paint to adhere to.
Applying Primer
If you want the paint to adhere better and last longer on your batting helmet, applying a primer is necessary. Primer helps create a bond between the surface of the helmet and the paint. Choose a primer that is suitable for use on plastic surfaces and follow the manufacturer’s instructions for application.
Preparing your batting helmet properly before painting is crucial to ensure a smooth and long-lasting finish. Follow these steps diligently to achieve professional-looking results that will protect your helmet and make it stand out on the field.
Choosing the Right Paint and Tools
Types of Paint Suitable for Batting Helmets
Some helmets may require specific types of paint to ensure proper adhesion and durability. When painting a batting helmet, it is crucial to choose a paint that is designed for use on plastic surfaces. Acrylic enamel paint or automotive paint are excellent choices as they adhere well to plastic and offer a durable finish.
The following table outlines some suitable paints for batting helmets:
| Paint Type | Suitable Surfaces |
| Acrylic Enamel Paint | Plastic |
| Automotive Paint | Plastic |
| Spray Paint for Plastic | Plastic |
| Epoxy Paint | Plastic |
| Vinyl Dye | Plastic |
This ensures that the paint will adhere properly to the helmet material and provide long-lasting color and protection. It is vital to follow the manufacturer’s instructions for the best results.
Essential Painting Tools and Materials
Tools and materials play a crucial role in achieving a professional finish when painting a batting helmet. Before starting your painting project, ensure you have the following vital tools and materials:
Tools: A sanding sponge or fine-grit sandpaper, a clean cloth for wiping the helmet, painter’s tape for masking off areas, a well-ventilated area for painting, and a face mask for protection against fumes.
Paint: High-quality acrylic enamel paint or automotive paint that is formulated for use on plastic surfaces is recommended for painting batting helmets. Ensure you have enough paint to complete the project without running out halfway.
Painting Techniques and Tips
Now, when it comes to painting a batting helmet, there are a few key techniques and tips to keep in mind to ensure a professional-looking finish. These steps will help you achieve a high-quality paint job that not only looks great but also provides long-lasting durability.
- Start by thoroughly cleaning and sanding the helmet to create a smooth surface for the paint to adhere to.
- Use a high-quality primer designed for use on plastic surfaces to ensure proper adhesion and prevent chipping or flaking.
- Apply the paint in thin, even coats to prevent runs or drips and allow each coat to dry completely before applying the next one.
- Consider using a clear coat to add an extra layer of protection and give the helmet a glossy finish.
Thoroughly following these steps will help you achieve a professional-looking paint job that will keep your batting helmet looking great for seasons to come.
Applying the Base Coat Effectively
Assuming that you have properly prepped the helmet by cleaning and sanding it, the key to applying the base coat effectively is to use smooth, even strokes. Make sure to hold the spray can or paint gun at a consistent distance from the helmet to create a uniform coverage. Allow the base coat to dry completely before moving on to additional layers of paint.
Techniques for Detailing and Custom Designs
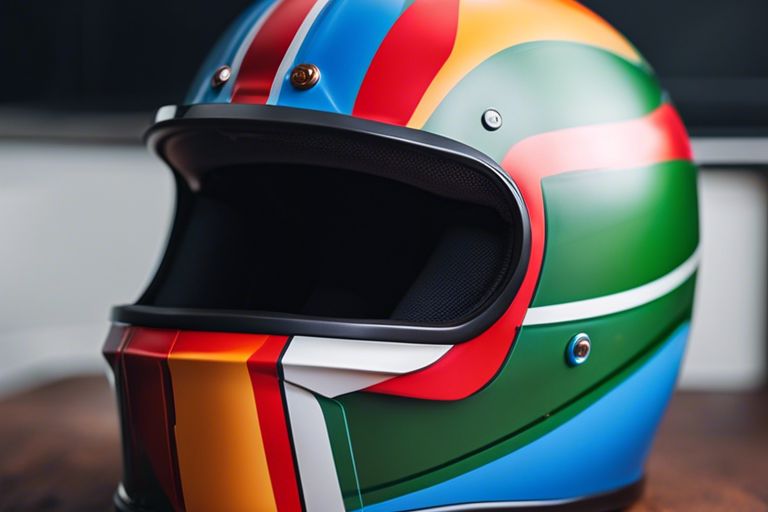
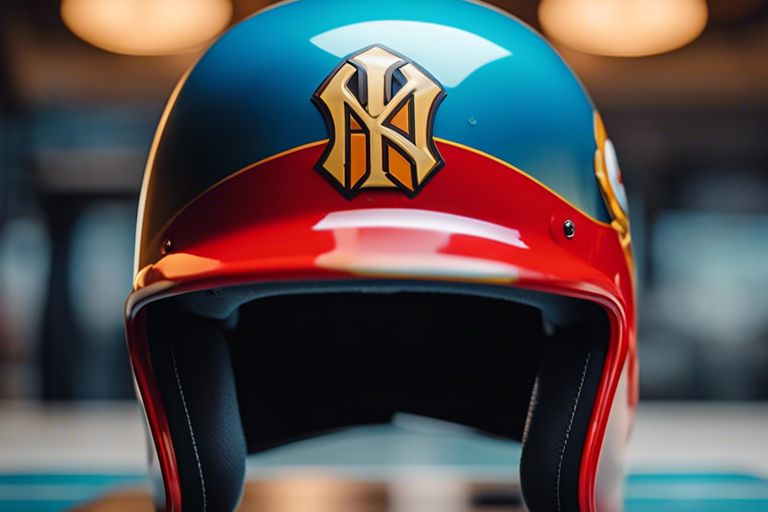
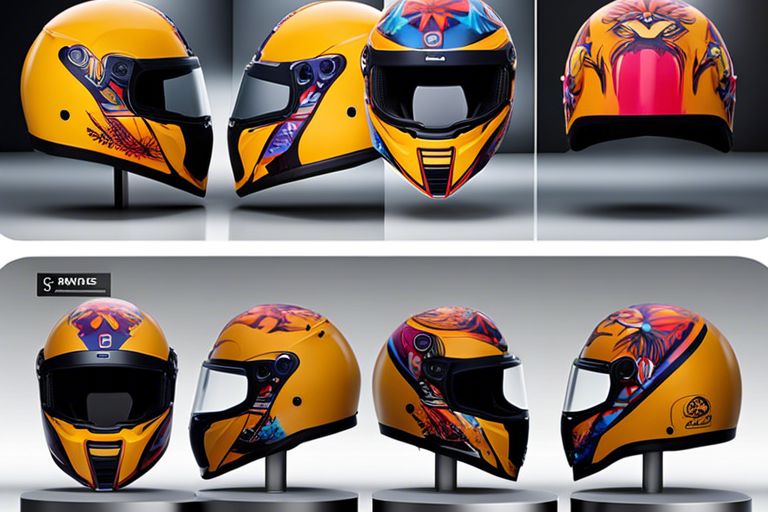
Clearly, the devil is in the details when it comes to adding custom designs to your batting helmet. This is where you can get creative and showcase your personal style. Techniques such as masking off sections with tape to create clean lines, using stencils for intricate designs, or even freehand painting can all be used to add unique flair to your helmet.
This final step in the painting process is crucial for achieving a truly personalized look that sets your helmet apart from the rest. Whether you choose to add your team’s logo, your jersey number, or a custom design, taking the time to carefully detail your helmet will result in a finished product that you can be proud to wear on the field.
Factors Affecting Paint Quality and Durability
Despite the meticulous effort put into painting a batting helmet, several factors can affect the overall quality and durability of the paint job. Being aware of these factors can help ensure that your painted helmet remains in top condition for a longer period of time.
Weather and Environmental Influences
The exposure of a painted batting helmet to various weather conditions can have a significant impact on its appearance and longevity. Factors such as sunlight, humidity, and temperature fluctuations can cause the paint to fade, crack, or peel over time. It is important to store the helmet in a cool, dry place when not in use to minimize the effects of these environmental influences.
Wear and Tear Considerations
Any equipment used in sports is prone to wear and tear, and a painted batting helmet is no exception. Constant impact from balls, bats, or other objects can cause the paint to chip or scratch, compromising both the aesthetic appeal and protective function of the helmet. Regularly inspecting the helmet for any signs of damage and touching up the paint as needed can help maintain its durability and appearance.
Wear and tear can also occur from frequent handling of the helmet, such as adjusting the fit or removing and putting it on. It is vital to handle the helmet with care to prevent unnecessary damage to the painted surface. Additionally, using mild cleaning agents and soft cloths for maintenance can help preserve the paint job for a longer period.
This chapter highlights the importance of considering various factors that can affect the quality and durability of a painted batting helmet. By taking proactive measures to protect the helmet from environmental influences and minimizing wear and tear, you can ensure that your paint job remains vibrant and intact for many games to come.
Aftercare and Maintenance of the Painted Helmet
Caring for the Freshly Painted Helmet
Helmet painting requires delicate care, especially when it’s freshly painted. Avoid exposing the helmet to extreme heat or sunlight for the first few days after painting to allow the paint to cure properly. Handle the helmet gently to prevent any scratches or smudges on the fresh paint. Use a soft cloth to dust off any debris that may settle on the helmet.
Long-term Maintenance and Touch-Ups
Now, when it comes to long-term maintenance of a painted helmet, regular cleaning is key to preserving the paint job. Avoid using harsh chemicals or abrasive materials that can damage the paint. Instead, opt for mild soap and water to gently clean the helmet surface. Touch-ups may be needed over time due to wear and tear, and it’s crucial to match the new paint to the existing helmet color for a seamless finish.
To wrap up
Taking this into account, painting a batting helmet is a simple yet effective way to customize your gear and stand out on the field. By following the steps outlined above, you can ensure a smooth and professional-looking finish that will last throughout the season. Remember to prioritize safety by properly preparing the helmet and using the right materials. With a little time and effort, you can have a personalized helmet that reflects your style and personality. So, grab your helmet, pick your colors, and get ready to hit the field with a fresh new look!
FAQ
Q: What supplies do I need to paint a batting helmet?
A: To paint a batting helmet, you will need the following supplies: helmet, sandpaper, primer, paint (acrylic or enamel), clear coat, masking tape, newspapers or drop cloth, and a well-ventilated area to work in.
Q: How do I prepare the helmet for painting?
A: Before painting a batting helmet, you should first clean the helmet thoroughly to remove any dirt or residue. Then, use fine-grit sandpaper to lightly scuff the surface of the helmet. Next, apply a coat of primer specifically designed for use on plastic surfaces. Let the primer dry completely before moving on to the next step.
Q: What is the best way to paint a batting helmet?
A: When painting a batting helmet, it is best to use thin, even coats of paint to prevent drips or runs. Start by applying a base coat of paint in your desired color. Allow each coat to dry completely before adding additional coats. Once you are satisfied with the color coverage, finish with a clear coat to protect the paint job and give it a glossy finish.