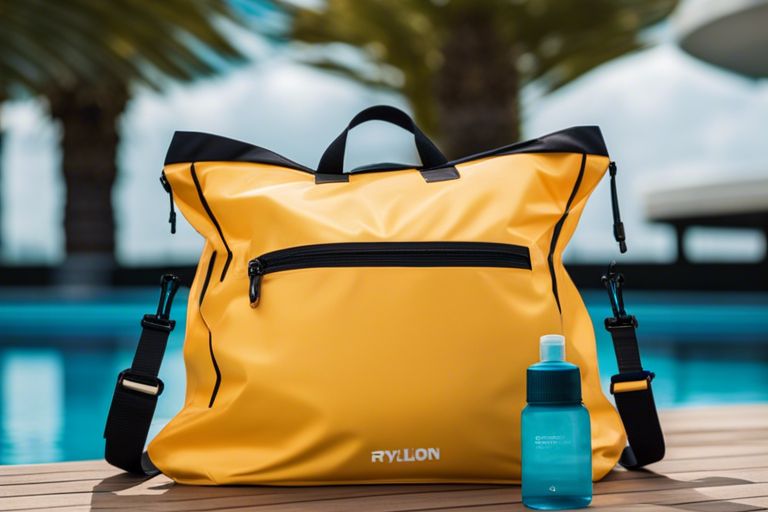
Swimmer enthusiasts, it’s time to probe a fun and creative DIY project – making your own swimming bag! Whether you’re heading to the pool or beach, having a personalized and waterproof bag to carry your imperatives can add a touch of style to your aquatic adventures. Follow these step-by-step instructions to create a customized swimming bag that’s both practical and stylish!
Key Takeaways:
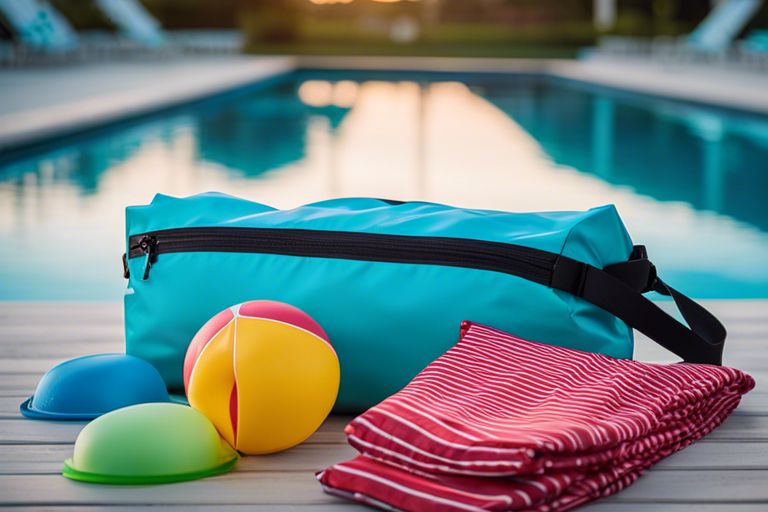
- Choose the right bag: Select a bag that is durable, waterproof, and large enough to hold all your swimming imperatives.
- Organize your belongings: Use smaller pouches or compartments within the bag to keep things like goggles, swim cap, towel, and sunscreen easily accessible.
- Pack imperatives only: Pack only the necessities in your swimming bag to avoid overpacking and carrying unnecessary weight.

Understanding the Basics of a Swimming Bag
Factors to Consider When Designing Your Bag
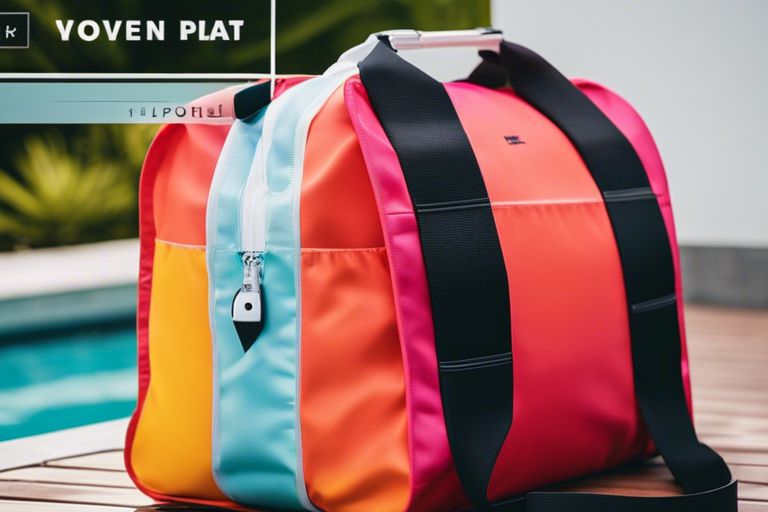
Before initiateing on making your swimming bag, it’s necessary to consider factors such as size, material, waterproofing, and compartmentalization to ensure practicality and efficiency.
- Size: Consider the size of the bag to fit all your swimming necessarys
- Material: Choose a durable, water-resistant material for longevity
- Waterproofing: Ensure the bag has waterproof compartments to keep wet items separate
- Compartmentalization: Opt for a bag with various compartments for organized storage
After taking these factors into account, you can begin designing your swimming bag.
Essential Features of a Good Swimming Bag
Now, to create a functional swimming bag, ensure it includes necessary features such as a wet compartment for damp items, mesh pockets for ventilation, adjustable straps for comfort, and durable zippers for longevity.
To make a practical and convenient swimming bag, consider incorporating features like a lined pocket for storing electronics, a water bottle holder for hydration, and reflective strips for visibility in low light conditions.
Choosing the Right Materials
Tips for Selecting Durable and Water-Resistant Fabrics
Some key factors to consider when choosing materials for making a swimming bag are durability and water-resistance. Look for fabrics like nylon, polyester, or vinyl-coated materials that can withstand damp conditions and regular use. Additionally, consider opting for fabrics with a waterproof coating or laminated backing to keep the contents of your bag dry.
- Choose fabrics that are resistant to mold and mildew
- Consider the weight and thickness of the fabric for durability
- Check if the fabric is easy to clean and maintain
This will ensure that your swimming bag can hold up well over time, even with frequent use near water.
How to Pick the Perfect Lining and Insulation
An important aspect of making a swimming bag is selecting the right lining and insulation to protect your belongings. Assuming you want to keep your wet items separate from the rest of your gear, choose a lining fabric that is water-resistant and easy to clean. For instance, a nylon or polyester lining can help prevent leakage and mold build-up.
Measuring and Cutting Your Fabric
How to Take Accurate Measurements for a Custom Fit
Assuming you have your pattern ready, it’s time to take accurate measurements for a customized fit. Make sure to measure twice and cut once to avoid any mistakes. Precision is key when creating a swimming bag that fits your needs.
Tips for Cutting Fabric Efficiently and Accurately
Tips for cutting fabric efficiently and accurately can make the process smoother. It’s important to use sharp scissors or a rotary cutter for clean cuts. Arrange your pattern pieces on the fabric strategically to minimize waste and ensure you have enough for all parts. The right tools and techniques can make a big difference in the final outcome.
- Use sharp scissors or a rotary cutter
- Arrange pattern pieces strategically on the fabric
This chapter covers the crucial steps of measuring and cutting your fabric to create a durable and functional swimming bag. These tasks require precision and attention to detail to ensure the bag turns out as intended. By following the tips provided, you can streamline the process and achieve professional results.
Assembling Your Swimming Bag
Step-by-Step Guide to Sewing Your Bag Together
| 1. Pin together the sides and bottom of the bag | 2. Sew along the edges with a sewing machine |
| 3. Attach the straps to the top of the bag | 4. Insert the lining inside the bag |
How to Add Zippers, Straps, and Other Hardware
Even though adding zippers, straps, and hardware may seem intimidating, it can elevate the look and functionality of your swimming bag. Make sure to carefully measure and sew on the zippers and straps securely to ensure they can withstand the weight of your swimming gear.
Straps for a swimming bag are important for carrying it comfortably. Opt for wide, adjustable straps that can distribute the weight evenly on your shoulders. Attach the straps securely to the bag with reinforced stitching to prevent any accidents while carrying your bag.
Final Touches and Quality Control
How to Add Finishing Touches to Your Bag
With your swimming bag almost complete, it’s time to add the finishing touches. This could include adding embellishments, attaching extra pockets, or sewing on a personalized touch like your initials or a keychain. Take your time in this step to ensure your bag reflects your unique style and preferences.
Tips for Inspecting and Testing Your Finished Bag
There’s nothing worse than finishing a project and finding out it has flaws or defects. Before declaring your swimming bag complete, it’s important to thoroughly inspect and test it. Check all seams for strength, ensure zippers and pockets function smoothly, and test the bag’s capacity by placing your swimming crucials inside. The last thing you want is for your bag to fall apart when you’re at the pool!
- Check all seams and stitches for any weak points
- Test the durability and functionality of zippers and pockets
- Ensure the bag’s capacity meets your needs for swimming crucials
Understanding the importance of quality control will help ensure your handmade swimming bag is durable and reliable. Take the time to inspect every detail of your bag, from the stitching to the overall construction. By following these tips, you can be confident that your swimming bag will withstand regular use and keep your belongings safe and secure.
Summing up
Considering all points, making a swimming bag can be a fun and creative DIY project. By choosing the right materials, adding compartments for wet items, and personalizing it with your own style, you can create a practical and stylish bag for your swimming importants. Get creative and enjoy the process of crafting a bag that suits your needs perfectly!
FAQ
Q: What materials do I need to make a swimming bag?
A: To make a swimming bag, you will need waterproof fabric, a sewing machine, thread, a zipper, webbing for straps, scissors, and pins.
Q: How do I choose the right waterproof fabric for a swimming bag?
A: When dicking out waterproof fabric for a swimming bag, make sure to choose a material that is durable, easy to clean, and can withstand exposure to water. Popular choices include nylon, polyester, or PVC-coated fabrics.
Q: Can you provide a step-by-step guide on how to make a swimming bag?
A: Sure! Here is a simple step-by-step guide on how to make a swimming bag:
1. Cut your waterproof fabric into two rectangular pieces for the body of the bag and two long strips for the straps.
2. Sew the zipper onto the top edge of one of the rectangular pieces.
3. Place the two rectangular pieces right sides together and sew along the sides and bottom to create the bag shape.
4. Attach the straps to the bag by sewing them onto the top edges of the bag.
5. Turn the bag right side out and you’re done!