Many players face the challenge of adjusting their hockey sticks to achieve the perfect height for optimal performance on the ice. Cutting a hockey stick might seem daunting, but with the right tools and techniques, you can tailor your equipment to match your playing style. This guide will walk you through the steps needed to confidently and accurately cut your hockey stick, ensuring you get the best fit for your game. Follow these instructions carefully, and you’ll be back on the ice in no time, ready to take your performance to the next level.
Key Takeaways:
- Choose the Right Height: Determine the appropriate length for the hockey stick by considering your height and playing style, typically aiming for the stick to reach between your chin and nose when standing in skates.
- Use Proper Tools: For a clean cut, utilize a saw designed for cutting composite materials, ensuring a straight and even cut to maintain optimal stick performance.
- Reattach the Grip: After cutting the stick, place a new grip or tape on the end to ensure it feels comfortable and provides a solid grip while playing.
Understanding the Need to Cut a Hockey Stick
A key component of your hockey gear is your hockey stick, and understanding the need to cut it to the right length is vital for optimal performance on the ice. A stick that’s too long or too short can hinder your control, shot accuracy, and overall gameplay. Therefore, determining the appropriate height for your stick can significantly influence how comfortable and effective you are when playing. Learning how to modify your stick correctly allows you to tailor it to your own unique playing style and physical attributes.
Reasons for Cutting
For many hockey players, cutting the stick is often a necessary adjustment to enhance personal comfort and gameplay. A stick that’s the correct length will enable you to handle the puck better, execute shots more effectively, and improve your overall stance. Additionally, a properly fitted stick helps create a more natural wrist position, which can lead to less fatigue during games while promoting better technique.
Moreover, as you grow or develop your skills, your needs change. If you’ve recently upgraded to a longer stick or transitioned to a different model, cutting may be necessary to restore optimal functionality. Remember that your equipment should feel like an extension of your body; maintaining this connection means taking the time to ensure that your stick is customized to fit your needs, which usually involves cutting it to the correct size.
When to Consider Cutting
You should consider cutting your hockey stick if you find yourself consistently unable to maneuver the puck effectively or if your shooting mechanics are suffering. If you’ve noticed that your shots are not as powerful or accurate as they should be, or if you are struggling to maintain control of the puck, this could be a sign that your stick needs adjustment. Additionally, if your stick feels unwieldy during play, causing strain in your wrists or arms, it’s time to reevaluate its length and consider cutting it to a size that suits you better.
Hockey sticks are often sold at a standard length, which may not align with your personal height or playing style. If a stick feels awkward or hinders your performance, you may need to cut it down to achieve a comfortable grip and optimal control. Properly fitting your stick can lead to improved performance and enjoyment on the ice, allowing you to focus on your game and make the most of your time spent playing. Do not forget, the goal is to enhance your ability while minimizing discomfort, so don’t hesitate to make adjustments when necessary.
Factors to Consider Before Cutting
Assuming you’re contemplating cutting your hockey stick to achieve the optimal length for your game, there are several important factors to consider before making that final decision. Making adjustments to your hockey stick can significantly impact your performance, so it’s crucial to ensure that you take into account your playing style, physical specifications, and the type of game you’re involved in. Here’s a list of key considerations:
- Stick Length and Player Height
- Stick Flex and Personal Preference
- Type of Game Being Played
The right length of a hockey stick can make all the difference in your performance on the ice, especially in relation to your own height. Length is typically measured when the stick is standing vertically next to you; ideally, the top of the stick should reach somewhere between your chin and nose when you’re standing on skates. If your stick is too long, it can hinder your ability to control the puck and shoot accurately, while a stick that is too short may reduce your reach and leverage for powerful shots.
Understanding the relationship between stick length and your height can help you make the best decision. If you are shorter, you may need to cut your stick down more than someone who is taller. Note, adjusting the stick length isn’t just about getting comfortable; it’s also about ensuring you can maximize your capabilities on the ice.
Stick Flex and Personal Preference
For hockey players, stick flex refers to how much the stick bends during shooting and passing, affecting the energy transfer and accuracy of your shots. It’s important to select a stick with the appropriate flex that matches your strength and shooting style. If the stick flex is too stiff for your abilities, you’ll struggle to get the puck off the ice for powerful shots. Conversely, a stick that is too flexible may not provide the necessary support for heavy shots, leading to inconsistency in your performance.
Stick flex is often a matter of personal preference. Some players prefer a stiffer stick for precise control during their shots, especially defensemen who may take less frequent, but harder shots. Others may choose a more flexible stick for increased whip, allowing for quicker shots that can catch a goalie off guard. Experimenting with different flex levels will help you understand your personal preferences better, ensuring you have the most optimal equipment for your game.
Stick flex plays a crucial role in your shooting performance. A higher flex rating is generally better for stronger players who can effectively utilize the stiffness for powerful slap shots. On the other hand, players who prioritize finesse and quick wrist shots might benefit from a lower flex rating. Consider your shooting techniques and how much physical strength you bring to the game, as these factors can influence your optimum stick flex.
Type of Game Being Played
If you primarily play recreational hockey versus competitive league play, the requirements for your stick may vary significantly. In recreational play, you might prioritize comfort and ease of use, whereas competitive play often calls for precision and performance-driven attributes like stick length and flex. Understanding these distinctions can help you make the right decisions regarding your stick adjustments.
Personal playstyle and the demands of your game should guide your stick specifications. If you are an aggressive player who plays in a fast-paced environment, you may want a stick that offers quick handling and agility. Conversely, if you are playing in a more strategic or slower-paced game, a stick with more stability and a heavier flex can provide you with the control you need. Ultimately, knowing your game and your role in it will inform the decisions you make when cutting your hockey stick.

Tools Required for Cutting a Hockey Stick
Unlike other sports equipment, cutting a hockey stick requires specific tools tailored for precision to ensure that the stick performs at its best after modification. Whether you opt for manual or power tools, having the right equipment is vital for achieving a clean, accurate cut that maintains the integrity of the stick. This chapter will guide you through the tools you’ll need for a successful hockey stick cutting project.
Manual Cutting Tools
Tools required for manual cutting include a hacksaw or a handsaw, a measuring tape, and a marker. The hacksaw is particularly effective for cutting through the composite materials commonly found in modern hockey sticks. You can also use a vice or a clamp to secure the stick in place while you cut, ensuring stability and accuracy during the process.
When using manual cutting tools, it’s important to take your time measuring and marking where you want your cut to be. Precise measurements will prevent you from cutting too much off, which can alter the performance characteristics of your stick. With the right technique and tools, you can achieve a clean, straight cut that meets your needs.
Power Tools for Precision
Tools necessary for power cutting include a power saw, such as a miter saw or a jigsaw, edged with fine-toothed blades designed for use on composites. These tools provide a high level of precision and can create a smoother cut compared to manual tools. You might also want to have a measuring square on hand to help guide your cuts accurately.
It’s crucial to take proper measurements and ensure that the hockey stick is securely held in place before using power tools. Power saws can quickly remove material, so having a steady hand and clear cutting lines will lead to far better results. Additionally, the speed of power tools can minimize the risk of splintering the stick, which is particularly important for maintaining its performance integrity after cutting.
Safety Equipment
Safety equipment is vital when cutting a hockey stick, regardless of whether you choose manual or power tools. You should wear safety goggles to protect your eyes from debris, as well as gloves to protect your hands from sharp edges and cuts. Hearing protection can also be a good idea if you are using loud power tools for an extended period.
A dust mask is recommended as well, especially when working with composite materials that can produce fine dust or particles during cutting. Taking these safety precautions will help prevent accidents and ensure that you have a safe and successful cutting experience.

How to Measure for Cutting
After you’ve made the decision to cut your hockey stick, measuring for the right length is a crucial step that will ensure your stick performs optimally. Accurate measurement will not only enhance your gameplay but also make a significant difference in your comfort level when handling the puck. Taking the time to measure correctly can prevent you from needing to cut the stick multiple times or ending up with a stick that feels awkward during play.
Proper Measurement Techniques
While measuring your stick, you should start by finding the right height for your stick based on your playing style and position. A common method is to stand upright in skates and hold the stick vertically next to you, ensuring the blade rests flat on the ground. The top of the stick should ideally reach between your chin and your nose, depending on your preference for reach versus control. Be sure to also take into account any additional height from your skates, as this will influence your overall height when shooting or passing.
Using a measuring tape can help you achieve a precise measurement. First, position the stick alongside your body; then take note of how long your stick should be based on the guidelines for your height and style. Mark the appropriate measurement with a pencil, ensuring that you have a clear reference point for cutting later on. It’s advisable to measure twice if you are uncertain, as measuring accurately will save you time and potential frustration.
Determining the Ideal Length
There’s no one-size-fits-all answer when it comes to the ideal length of your hockey stick, as personal preference and style of play can greatly influence this decision. Players who prefer more control and stickhandling may opt for a shorter stick, while those seeking more reach and power in their shots might choose a longer stick. As a general guideline, many players find that somewhere between the chin and nose height is appropriate, but individual comfort and performance level should also play a critical role in your decision.
This is where understanding how you like to play will help in determining your ideal stick length. For instance, if you’re a forward who frequently engages in stickhandling, you might lean towards the shorter side of the scale for better maneuverability. Conversely, if your game relies heavily on defensive play or powerful slap shots from the blue line, a longer stick may serve you best. Ultimately, the best stick length is the one that feels right for your unique playing style.
Step-by-Step Guide on Cutting a Hockey Stick
Once again, it’s vital to ensure your hockey stick is the right length for optimum performance on the ice. In this section, I will walk you through the necessary steps to cut your hockey stick safely and efficiently.
Preparation Steps
| 1. Gather Your Tools | You’ll need a measuring tape, saw (preferably a hacksaw), a vice (if available), and sandpaper for finishing touches. |
| 2. Determine the Right Length | Hold the stick in your skating posture, and make a mark where the stick should be cut, ensuring it’s comfortable for you to handle. |
Preparing the Stick for Cutting
For a successful cutting process, start by determining the desired height of your stick. A general rule of thumb is that the stick should reach somewhere between your chin and nose when you’re in skates. Once you’ve identified the correct length, make a precise mark where the cut will be made. This will act as your guideline.
After marking the stick, secure it using a vice if possible. This will hold the stick firmly in place and prevent any unintended movements while you’re cutting. If you don’t have a vice, you can still hold the stick tightly with one hand while cutting with the other, but ensure you have a stable surface to work on to maintain balance.
The Cutting Process
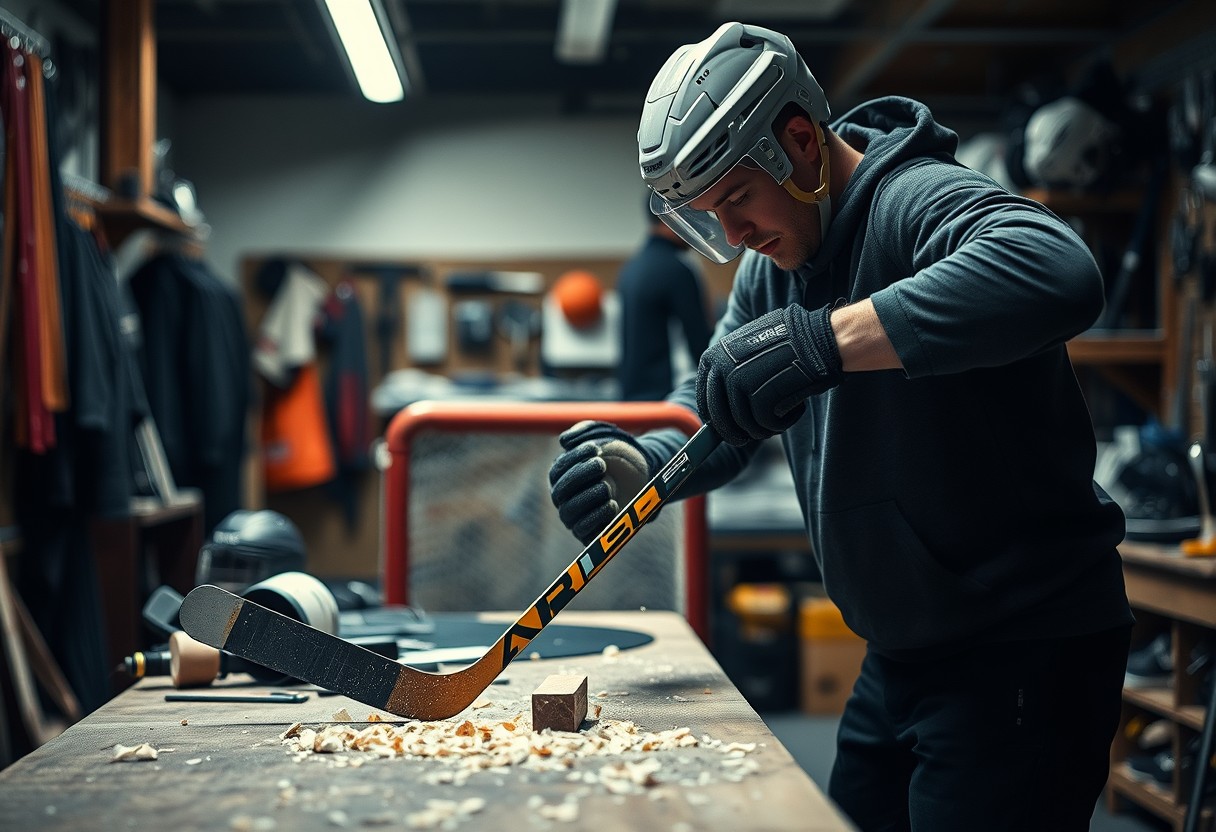
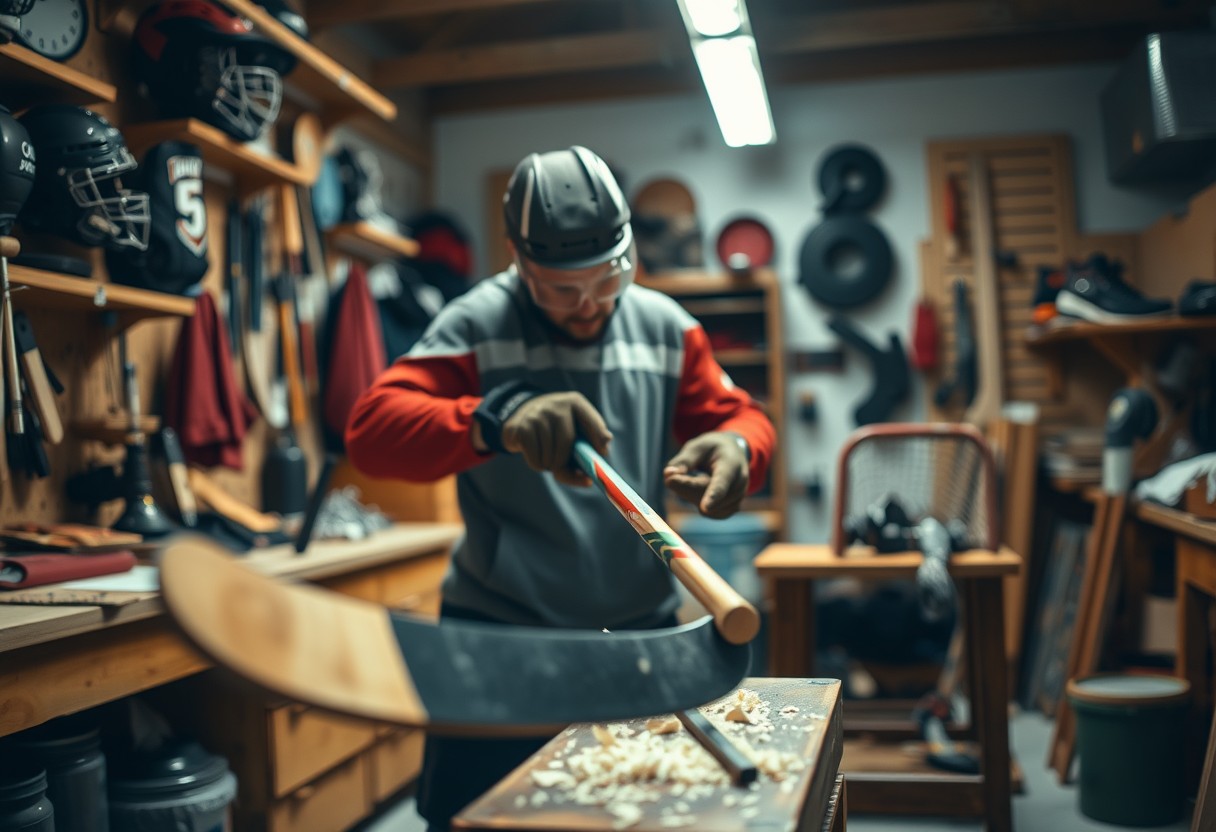
While cutting, use a high-quality saw, such as a hacksaw, for a smoother cut. Begin at your marked spot and apply gentle, consistent pressure as you saw through the stick. It’s crucial to stay focused and avoid rushing through the process. This helps minimize the risk of jagged cuts or splinters.
After cutting through the stick, check the edges for any roughness or splinters. These can affect your performance and handling, so ensure you take the necessary steps to make your stick game-ready.
Cutting can be a delicate process, and precision is key. If you notice that you didn’t cut straight or the edges are slightly uneven, don’t panic. You can always make minor adjustments and ensure the final length meets your expectations by sanding down any rough edges.
Ensuring a Clean Finish
There’s nothing worse than ending up with frayed or jagged edges after you’ve put your effort into cutting your hockey stick. Utilizing sandpaper, take the time to smooth down the edges of the cut. Start with a coarser sandpaper to remove any roughness, then follow up with a finer grit for a polished finish. This not only enhances the appearance of your stick but also prevents injury during gameplay.
Additionally, don’t forget to clean any dust or debris from the cutting process off your stick before hitting the ice. Proper finishing will allow for better puck handling and ensure that your stick feels comfortable in your hands.
It’s vital to take your time during this stage. A well-finished cut will not only look professional but will also contribute to your confidence in handling the stick effectively during games.
Post-Cutting Adjustments
Not every cut is perfect, and making adjustments after you’ve trimmed your hockey stick is crucial for optimal performance on the ice. You want to ensure that your stick feels just right before you hit the rink. This chapter will guide you through what to do after cutting your stick, including inspecting the cut, taping, and testing it. Each step helps you fine-tune your equipment to suit your playing style and preferences.
Inspecting the Cut
There’s nothing worse than realizing you made an uneven cut or that you took off too much material after it’s too late. After cutting your hockey stick, carefully examine the area where you made the modification. Look for any rough edges or splinters that could affect your grip or performance. If you notice any imperfections, you may need to sand down the edges to create a smooth finish. Smooth edges will allow for better handling and reduce the risk of injury while playing.
There’s also the question of how far you trimmed it. Remember that most players have their personal preference for stick length, so ensure that you’ve cut it to a length that suits your skating style and shooting technique. A stick that’s too short can limit your reach, while one that’s too long can hinder your stick handling. Taking a moment to inspect your cut can save you from frustration later on.
Taping the Stick After Cutting
After you have inspected your cut, it’s time to tape your stick to improve both grip and protection. Start from the bottom of the blade and work your way up the shaft, overlapping the tape slightly as you go. Ensure that the taping is even and secure. Quality tape not only offers a better grip on the puck but also protects the shaft from wear and tear as you play.
Another important aspect of taping your stick is the choice of tape color and thickness, which can be a personal preference. Consider what feels comfortable for your hands and gives you the best control while stickhandling. You might also want to apply tape on the blade in a manner that suits your shooting style, making it easier to lift the puck or receive passes. Once you’re satisfied with the tape job, it will give your stick a fresh feel and prepare it for play.
Testing the Stick
There’s no substitute for field testing your newly cut and taped stick. Before heading into an important game, take your stick out for a few practice drills. Focus on your shooting, passing, and puck handling to ensure that the adjustments made fit your style. Pay close attention to how it feels in your hands; if something seems off, you might need to make further adjustments. Testing your stick thoroughly can make a significant difference in your performance during a game.
To get the best idea of how your stick performs, consider trying various shooting angles and executing different passes to see how the stick responds. Feeling comfortable with the adjustments you’ve made is important to building confidence on the ice. Make sure to communicate any issues you encounter so you can address them before the next game. By diligently testing your stick, you’ll ensure that it meets your expectations in terms of comfort and effectiveness, ultimately enhancing your overall gameplay.
Tips for Maintaining Your Hockey Stick
To get the most out of your hockey stick, proper maintenance is vital. With regular care, you can enhance the stick’s performance and longevity, ensuring it remains in peak condition for each game. Here are some key practices to keep in mind:
- Wipe down your stick after each use to remove moisture and debris.
- Inspect your stick regularly for any signs of damage, such as chips or cracks.
- Store your stick in a cool, dry place to prevent warping or deterioration.
- Re-grip your stick when necessary to maintain control and comfort.
- Use tape wisely—ensure it’s applied properly and replace it as needed.
After following these tips, you should feel more confident about the condition of your hockey stick.
Regular Maintenance Practices
Assuming you want to maximize your stick’s lifespan, implementing regular maintenance practices is crucial. Take a moment after each practice or game to thoroughly dry your stick. Water and moisture can weaken the structure over time, so a quick wipe with a cloth can go a long way in preserving its integrity.
Additionally, pay attention to the blade of your stick. Sharp, well-maintained blades are fundamental for optimal puck control. Consider replacing or sharpening your blade regularly, especially if you notice decreased performance during play. These small but consistent practices will ensure your stick remains reliable when it matters most.
Avoiding Common Mistakes
Now that you understand the importance of maintenance, it’s vital to remain cautious about avoiding common mistakes that could lead to the premature wear of your hockey stick. Many players overlook the significance of proper storage, leaving their sticks in hot cars or damp locker rooms. Such environments can weaken the materials and diminish performance over time.
Stick to these guidelines to prevent mishaps: always transport your stick in a protective bag, and avoid resting your stick against hard surfaces that could cause damage. By being proactive in avoiding these errors, you can ensure your hockey stick retains its value and performance.
When to Replace Your Stick
Tips for deciding when to replace your hockey stick revolve around a few key indicators. Pay attention to the feel and responsiveness of your stick during gameplay; if you notice signs like less vibrant shots or unexpected flex, it might be time for a new one. Additionally, cracks or deep chips in the blade can greatly affect performance and stability, warranting immediate replacement.
Remember to keep track of how often you play and the intensity of each game. If you’re frequently engaging in competitive play, a stick might degrade faster than if you’re a recreational player. Your stick is an investment in your game, so staying aware of its wear and performance will lead to better decisions about when to replace it.
Mistakes in timing can cost you both in performance and finances. If you find yourself struggling with your stick’s performance despite regular maintenance, don’t hesitate to invest in a new one. Waiting too long can lead to subpar play, and ultimately affect your enjoyment of the game. Keeping an eye on the condition of your stick is vital for maintaining your edge on the ice.
To Wrap Up
On the whole, cutting a hockey stick to fit your desired height is a straightforward process that can greatly improve your performance on the ice. By gathering the right tools and measuring accurately, you ensure that your stick not only feels comfortable in your hands but also enhances your overall play. Taking the time to customize your equipment is an important part of being a competitive player, as the right stick length can significantly affect your skating stride and shot accuracy. Remember to measure twice and cut once; precision is key to enjoying the benefits of a well-fitted stick.
Additionally, do not hesitate to seek help from your coach or more experienced players if you’re unsure about your cutting process. They can provide valuable insights and tips based on their own experiences. Once you’ve cut your stick to the perfect height, spend some time familiarizing yourself with the new feel. Ultimately, your success on the ice will be greatly influenced by how well you adapt to your equipment, and a properly cut stick is a significant step in that direction.


